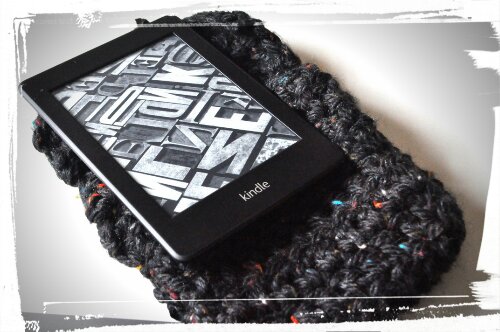
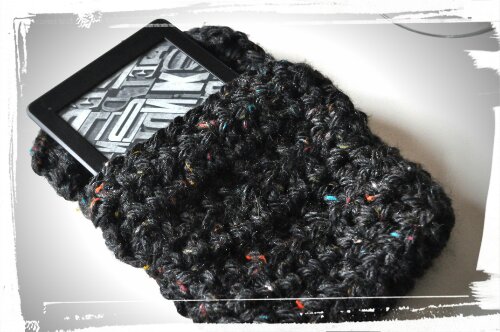
I had an opportunity to make a Kindle cover for my sister Jamie. Pretty simple and I love how it turned out . What do you think?
Tag: DIY
DIY: Coffee Filter Butterflies
This project has probably been around for YEARS….I can remember doing it as a kid and trust me- that was many years ago. 😉
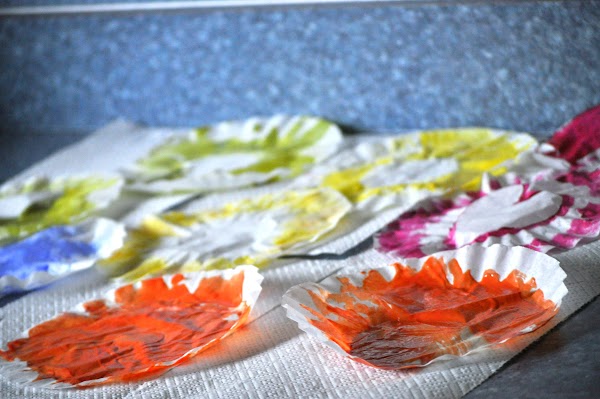
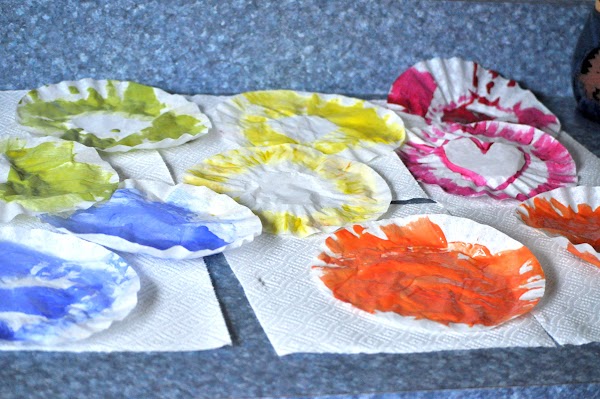
Pretty self explanitory. Just look at the pictures.
Paint, dry, scrunch and secure with anything you like.
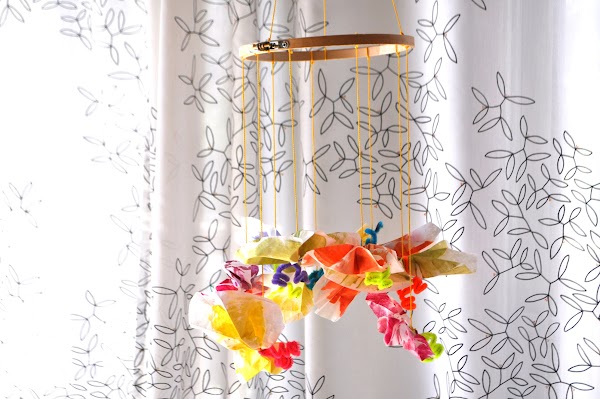
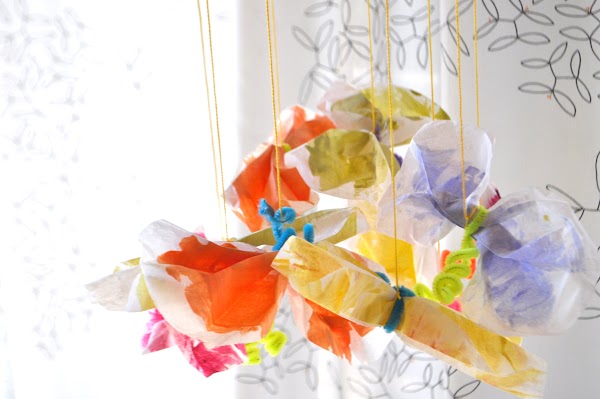
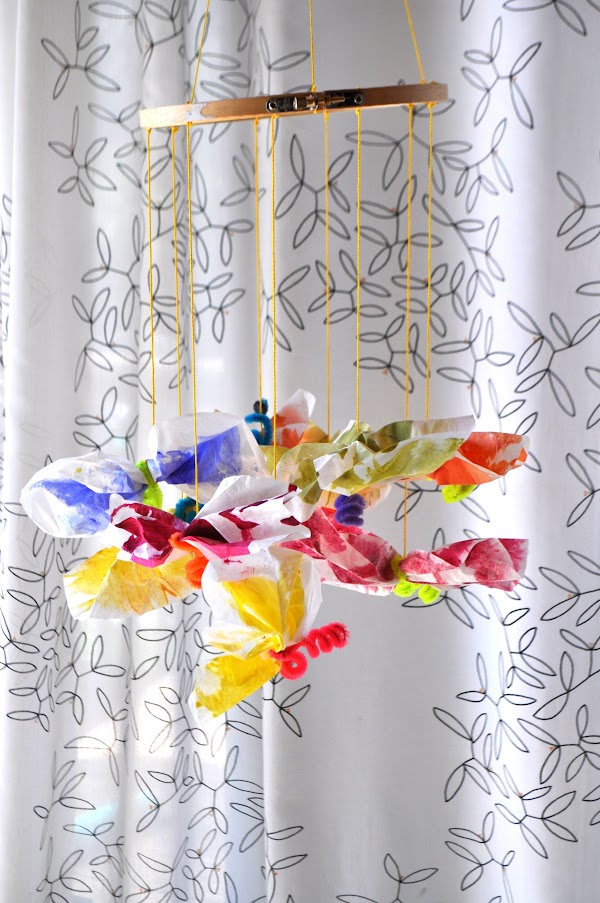
While we were making these I thought how awesome it would be to make a butterfly family hanging from the ceiling! It can also see these as adorable baby mobiles! Just attach to an embroidery hoop. Great baby shower gift- a homemade adorable mobile.
I simply squished the filters, together and secured them with a pipe cleaner wrapping the end with a pencil to make them curly on the end.
I attached the butterflies with embroider string then to an embroider hoop.
From house to home
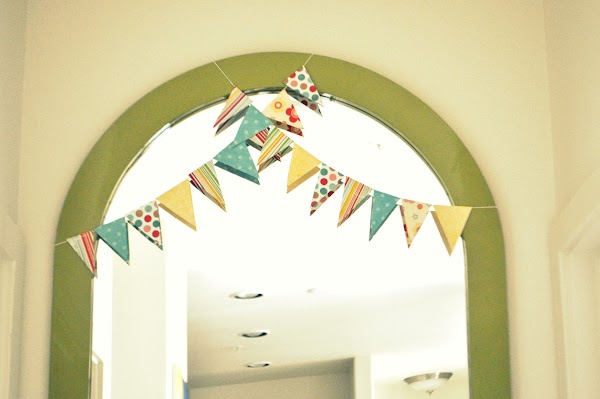
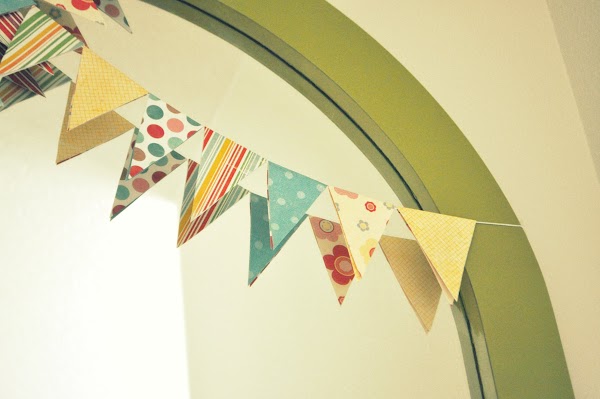
I’ve finally been adding those changes to our house making it more our home. Little additions around the house which make me smile. A Rainbow banner!
This one I’ve had in mind since last September. It’s not hard. Or complicated. Just took me a while to do it. This slow family weekend was the perfect time for it. 🙂
I walk by it and smile every time. But who couldn’t, it’s so pretty right?! Travis says it looks a little girly but likes it for right now. hehe
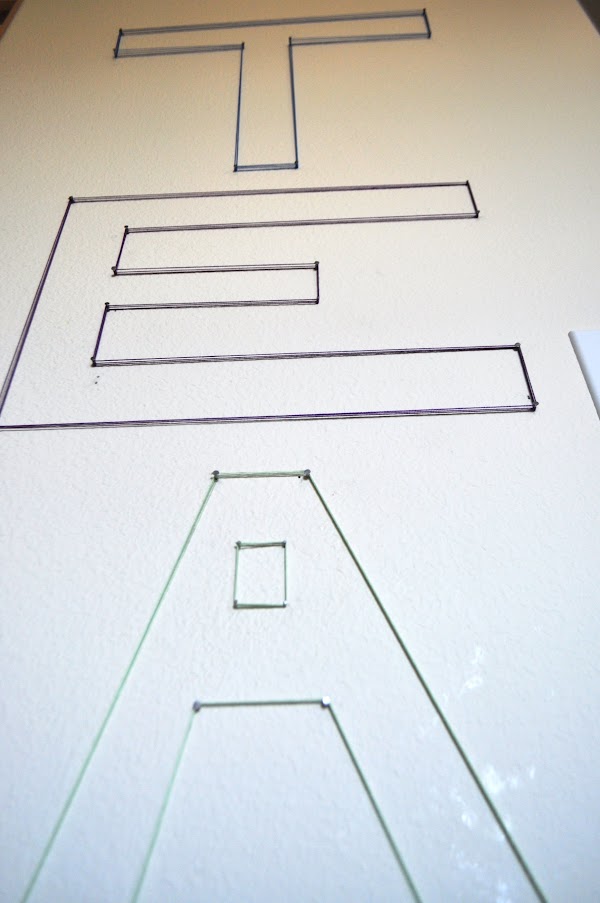
DIY: Embroidery Thread Letters
I saw this on some blog I can’t remember and knew I wanted to do it. So easy and creative!
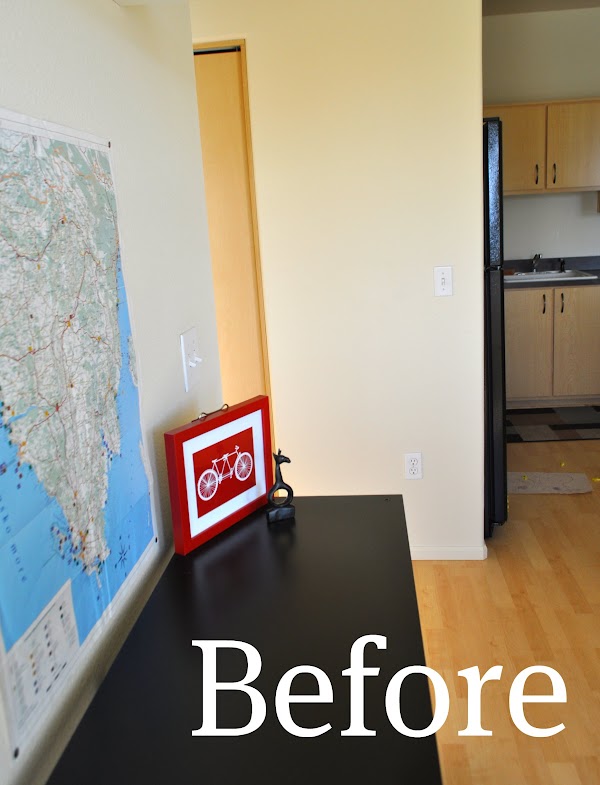
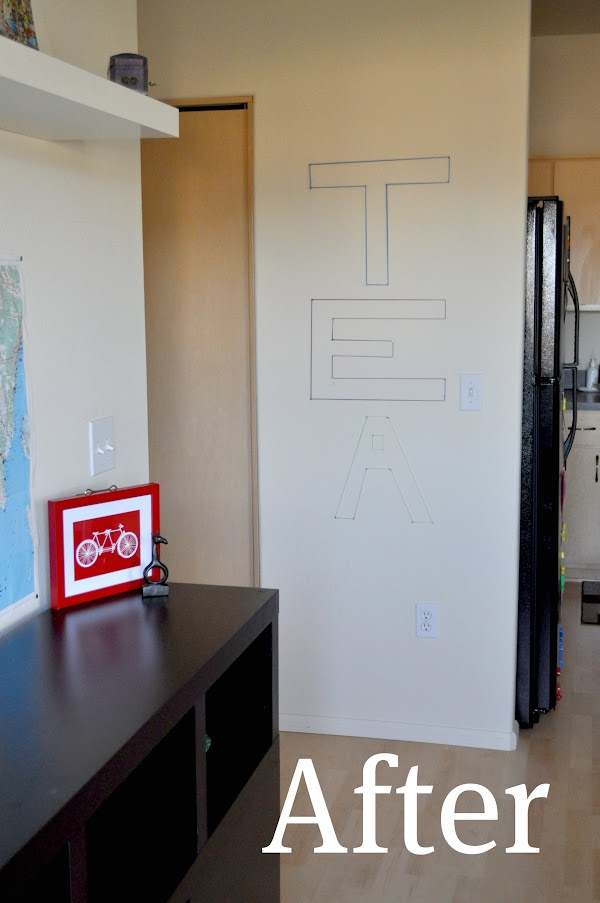
I didn’t tell Travis about it but just did it myself. I wasn’t sure if he’d like it but I LOVE it! Fortunately he came home and loved it too. 🙂
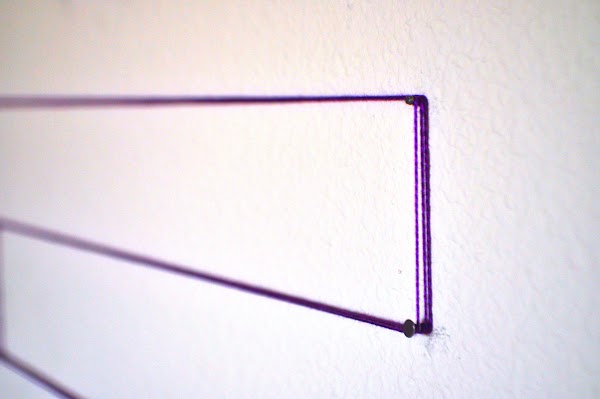
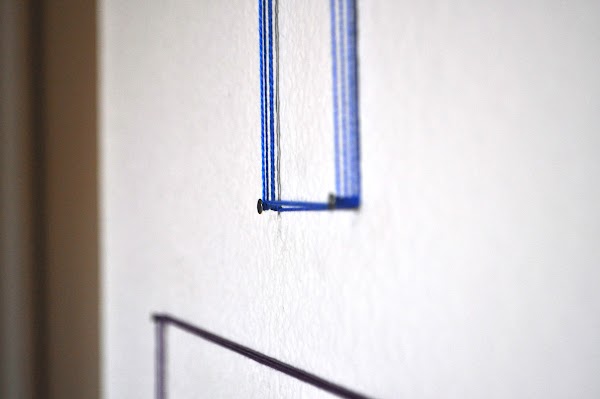
Just nails, embroidery thread and imagination. 🙂 The colors are each of our favorite. Travis, blue. Emma, purple and Me, green. It’s difficult to see the green but it’s a beautiful light green.
Do you like it? You could do anything, letters or shapes…their is no limit!
Have a great weekend.
DIY: Succulent Greenhouse
As a child, I thought that as an adult, I would naturally have a winter flower allowance. Because, obviously, one still needs flowers in the winter time. Sadly I did grow up, and realized what nice flowers cost in the winter time. $$$ More money than I can spend.
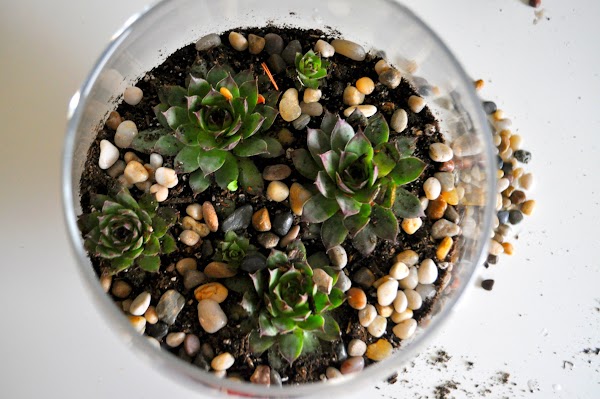
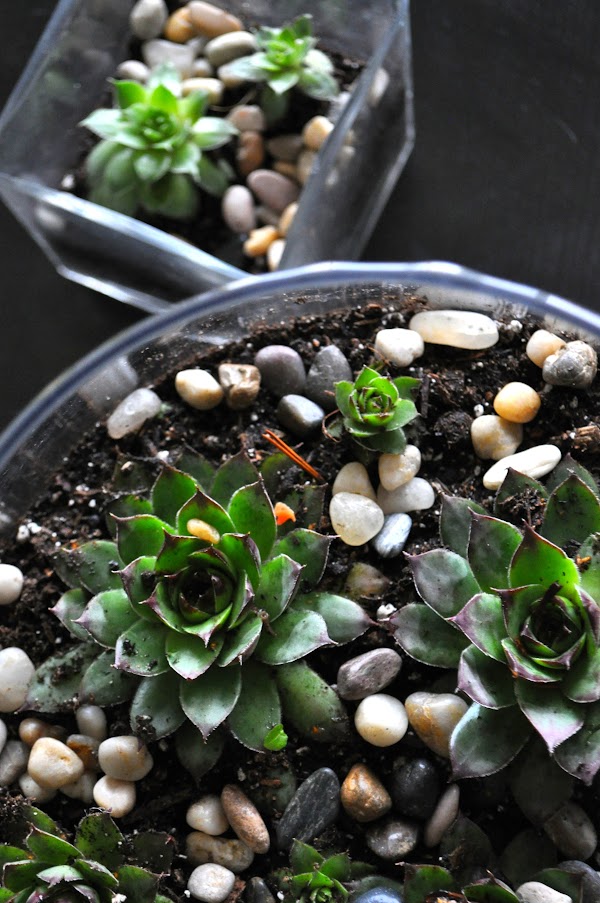
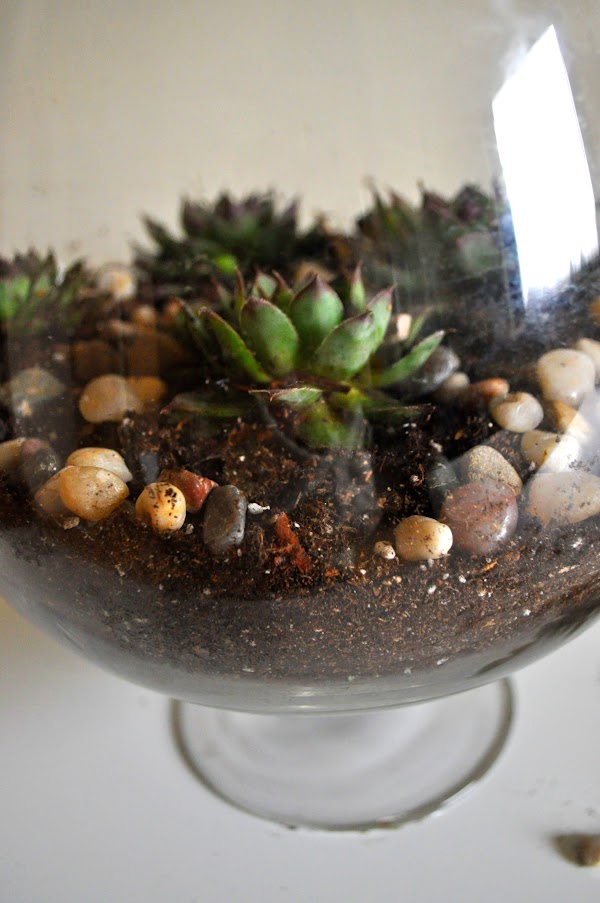
So I made some winter succulent gardens in some vases which I will enjoy for months. 🙂 These are not roses or lilies (my favorite) but they have a rustic beauty that is so attractive.
These are also not the best pictures, but honestly I haven’t been motivated recently to take nice pictures so this is what’s here. Enjoy! lol
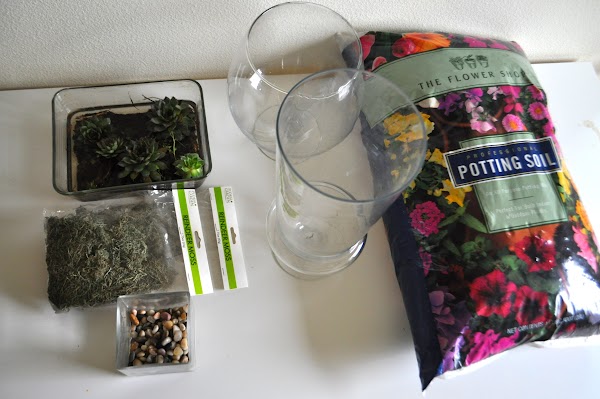
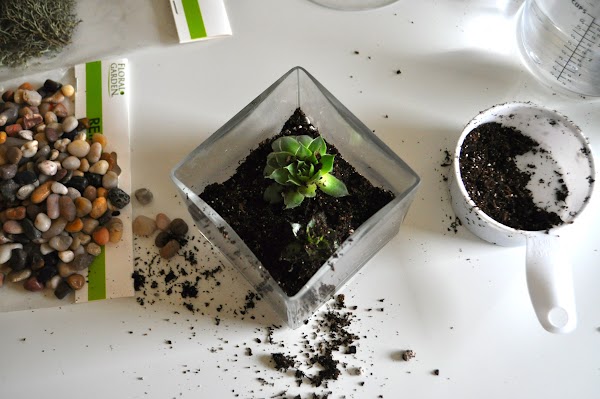
Here are the ingredients (Why yes, I think in food terms)
I didn’t end up using the moss ($1 store find) because the rocks (also $1 store find) were enough.
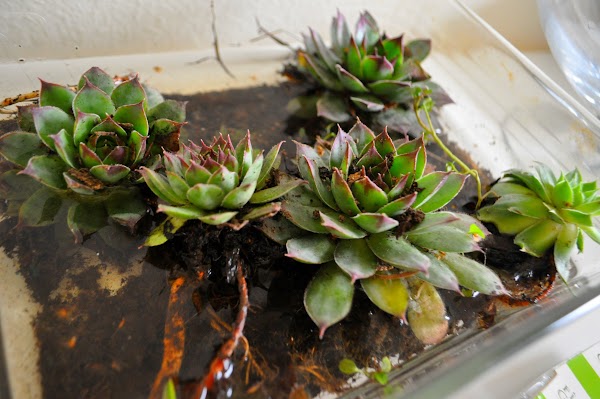
Beauties. Thank you Brianne for raiding your back yard and giving me these!
There is a small possibility that we will be in Pheonix in May and I would LOVE to bring back some from the dessert. Not sure how I would bring them here…carry on?
Just put the soil in, situate these hardy little cuties and water to make sure they transplant well.
Try it! Just keep in mind:
1. Have pet friendly plants.
2. Clean glass well before transplanting- and after
3. This is a great learning tool (homeschooling mamas) about growing things even in the winter months!
4. If you do do this with kids, make sure it’s a touch friendly plant/cactus. (*shudder, I had a bad childhood experience with a small ‘cute’ cactus…evil little plant)
Emma is learning a lot through this buy helping me plant them, watering them, seeing their little shoots (we call them ‘the mama plants children’) and seeing the roots through the glass. I have one more huge tall vase that will have a bulb planted in it. Gotta get ready for the Spring!
(Yes I’m aware it’s still January but I’m in winter denial)
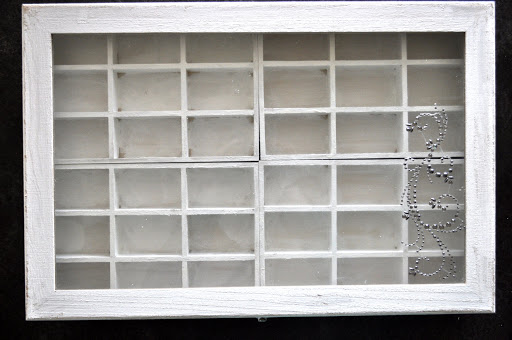
DIY: Jewelry Box
This is a way overdue post. I took these pictures last February. Yeah, that late…
This isn’t an incredibly clever post. But one that I sorta fell into, walking into a craft store. (haha get it?!)
**rolling of the eyes**
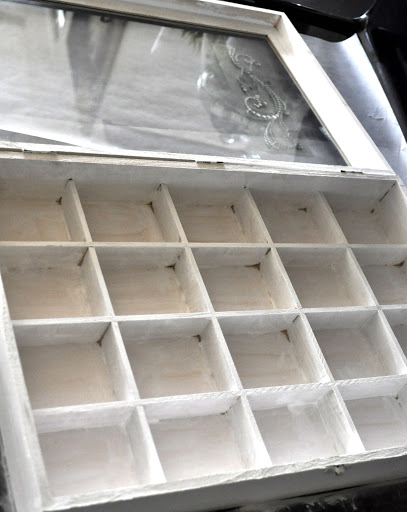
Anyhoo, I saw this organizer thing for 50% off and at about $10 I snatched it up and hugged it close to my chest knowing someone would try to take it away from me. 🙂
It is made of two layers. I painted the whole thing white. (to make the colors of my jewelry stand out to me)
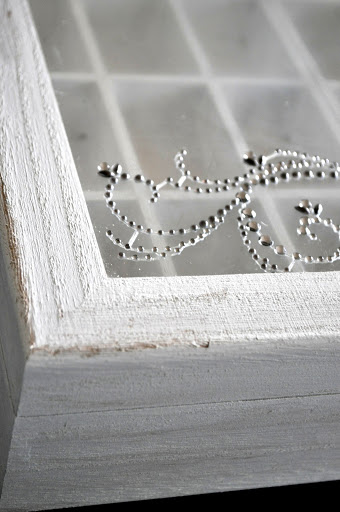
And had no intention of making it ‘shabby chic’ but the brush I was using couldn’t get to the corners so I worked with it. I accepted it’s ‘shabby-ness’ and for now I like it.
(*but could totally imagine it in candy red! Or teal! hehe!)
If you know me, you know I had to add some sparkle. 🙂
It will probably change in the future, but it holds all my jewelry. Happy day indeed!
Happy new year everyone!
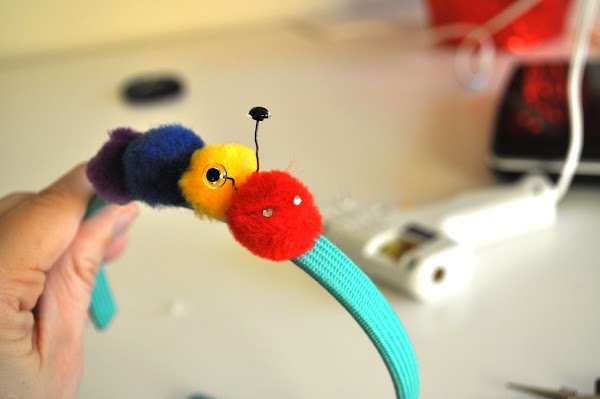
DIY: Caterpillar Headband
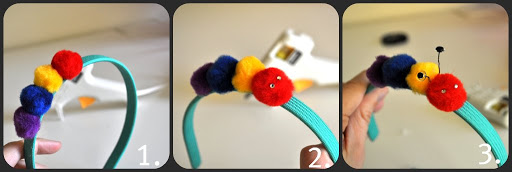
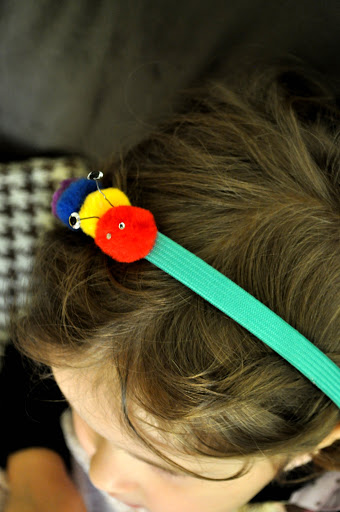
I’ve had this in my mind for a while now. Just took forever to actually do it. Have any projects like that? Yeah…I have about 5 in my head right now. Anyhoo, this reminds me of the adorable book, the Hungry Hungry Caterpillar. Wouldn’t it be cute to give this away as a present with the actual book?! Or have the child wear a shirt with an apple or fruit on it? 🙂
Hot glued the pom poms to the headband and stuck the eyes on. (Simply sticky diamond dots for scrap booking) And the antennas are wire flower chords. Cute right?!
Let me know if you make this! I would be happy to see how yours turned out!
Our Christmas Wreath
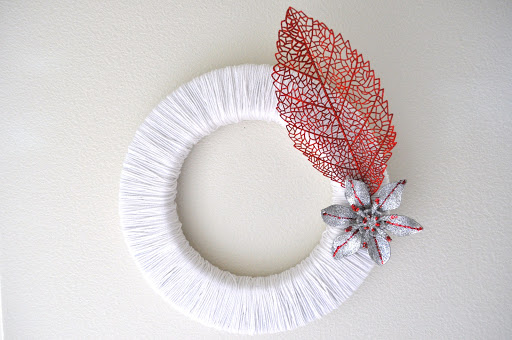
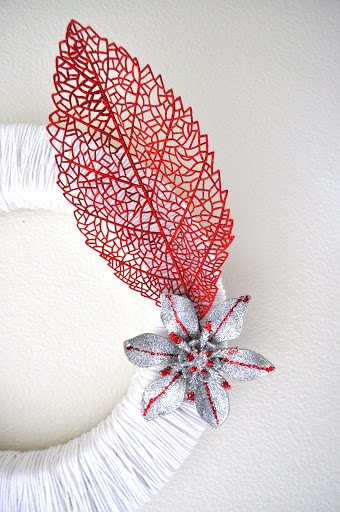
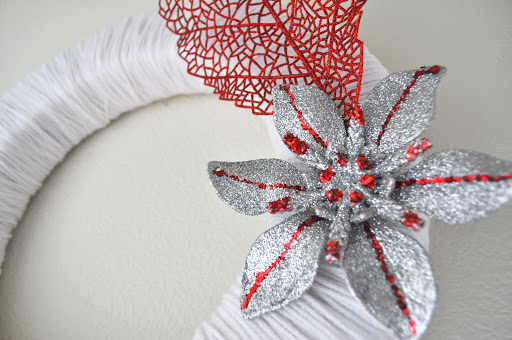
My Christmas wreath. Isn’t it pretty?! 🙂 Only in the Pacific Northwest do we decorate with sparkly ferns.
We like our foliage.
When I started this I was all alone, had no idea what I was doing or how much yarn it would take. I just started wrapping…and wrapping….and wrapping. My shoulder definitely hurt by the beginning end but it was worth it. Fyi, it is a huge wreath and took only one medium size spool of yarn. Don’t go over board like me and buy too much yarn.
Go ahead and make one yourself. Its fun, takes a little time but adds a little whimsical to your home.
Our front door won’t close with it on so I am forced to hang it inside. It’s OK, I love it. I’ll also be changing it with every season. 🙂
Bird Mobile
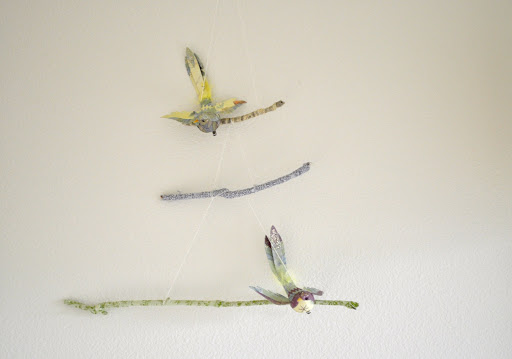
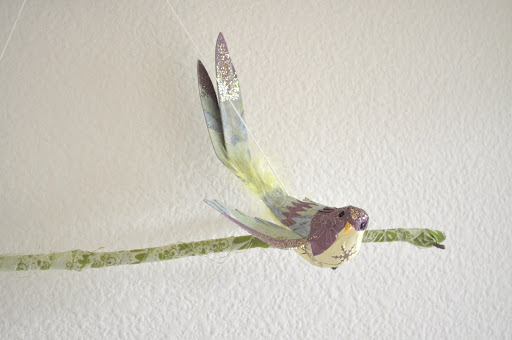
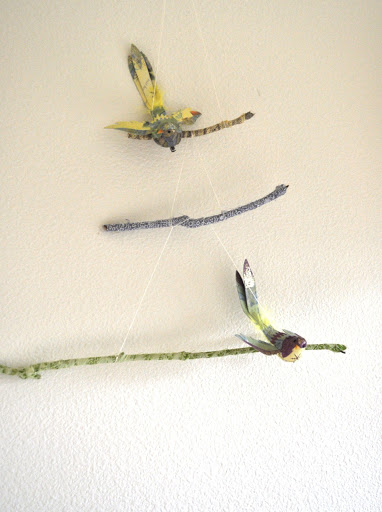
I’m showing you a project that I am sad to admit took a little over a month. It’s super easy and simple, I just had a hard time finding the time. It also took a while to find sticks that were the right lengths.
Material: Birds:$1 store, sticks: from field, fabric: my pile of scraps, twine
Try it out! It’ll only take you a bit, use your scraps for something and get a project done. I think this would be great for a baby’s nursery.
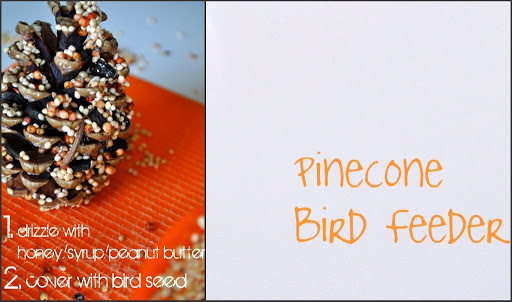
Pinecone Bird Feeder
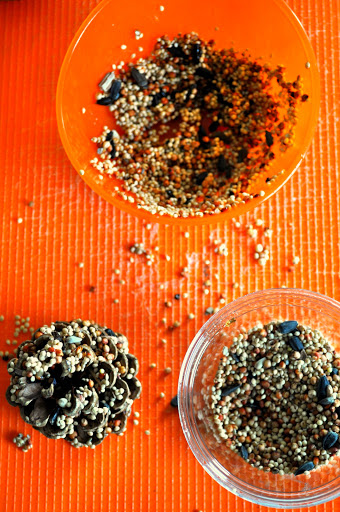
Emma has been wanting to do this for some time. We also did this fun easy project in our children’s church yesterday and I was able to take home a bit of birdseed. Yay! Just hang on onto a tree near a window.
I’m praying we get to see at least ONE bird feast on one of our 4 cones we made. lol Do this! I would say it takes maybe 5 min.
