This DIY project is something that I’ve been wanting to do for a loooong time. It’s simple, beautiful and my favorite part is that you can customize it to your liking. Many more will be made.
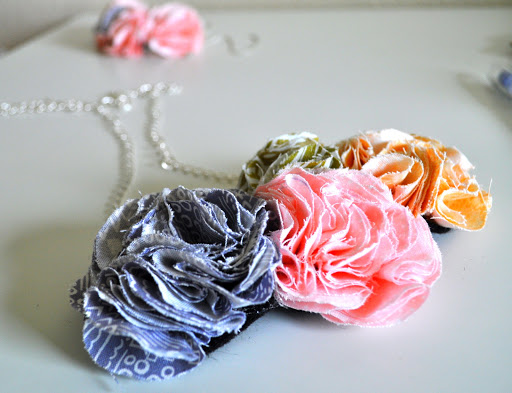
Lots of awesome pictures are coming…get a favorite drink in hand and be ready for some eye candy. 🙂
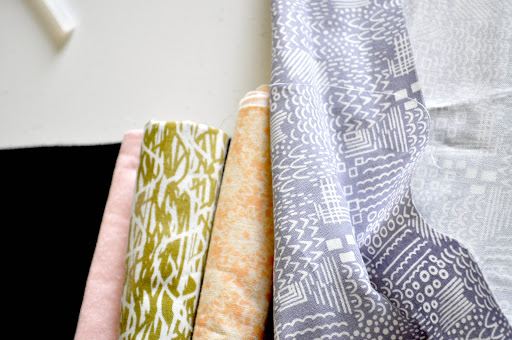
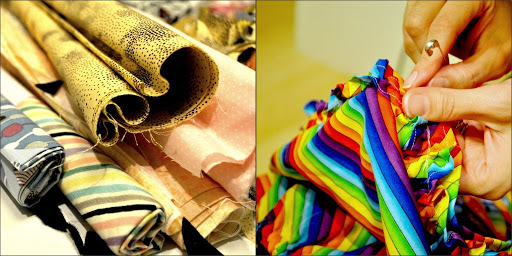
Fist you need to get some fabulous cheap fabric. For this just one reason I am crazy about Jo Ann’s.
Next cut a felt circle and trace it on the back side of any fabric you want to make a flower of. It’s so the fabric and felt circles are the same size. Looks better that way.
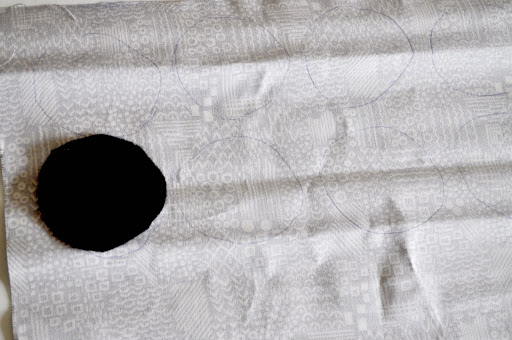
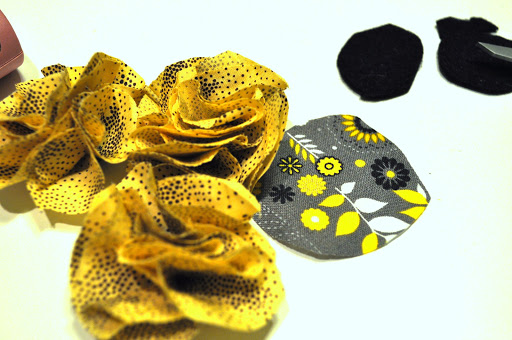
Now after cutting circles, take one and fold it twice. So it looks like this:
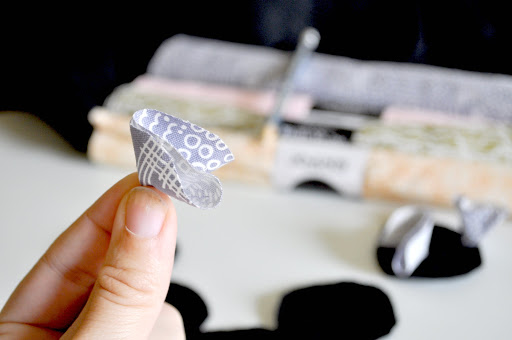
Then just start sticking them on the felt circle. One at a time till you get yourself a flower!
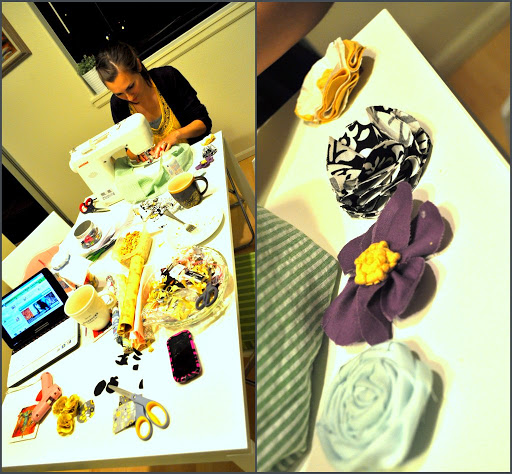
Forgot to take a picture of a finished flower. Whoops. I got too caught up in the creating. Really. You can kinda see it on the right side of the picture above.
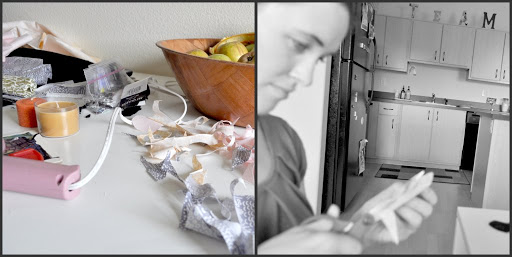
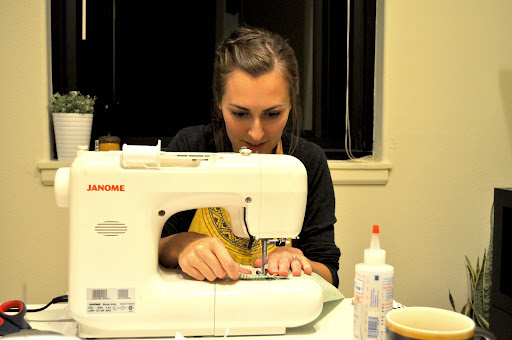
But Emma did take a couple pictures while I was making the necklace. My ‘craft table’ with tons of scraps, hot glue and smelly candles. Cutting the circles took the most time.
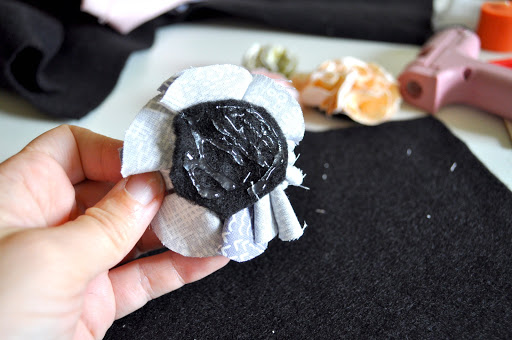
Next, once your flower is complete, you want to slather the backside with hot glue.
And before you put it down on more felt, you want to attach a long piece of chain. This way, the necklace chain is secure, in between two pieces of felt. Picture shows better than I could explain.
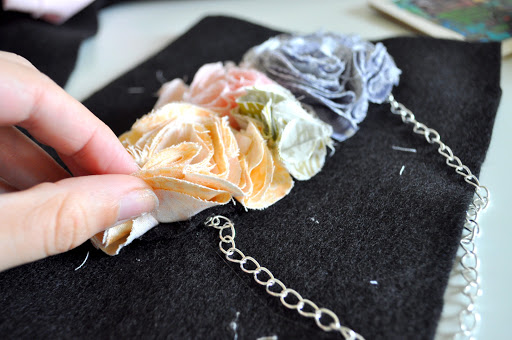
Does that make more sense now? Hope so. So now you have your necklace and it’s almost done!
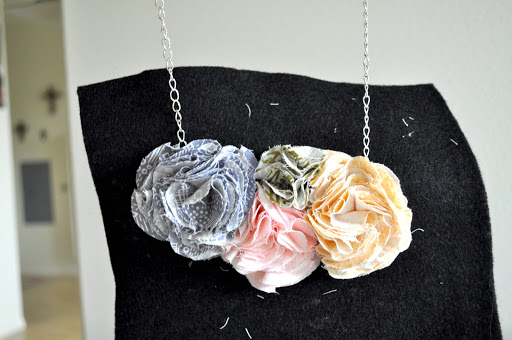
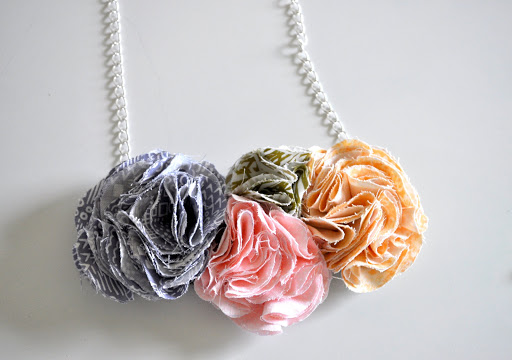
Just cut away the felt from the flowers an that’s it!
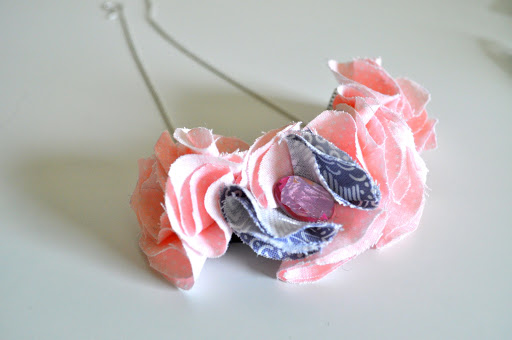
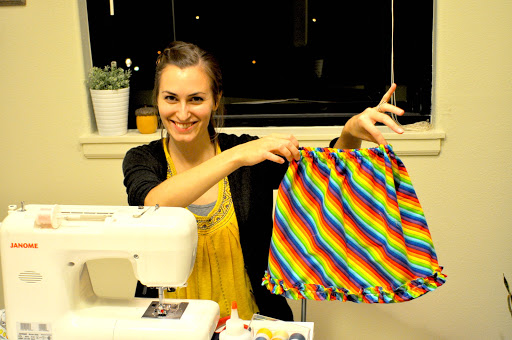
Emma really wanted one…and I can’t say no to Emma wanting to do crafts. So this was created:
Let me know if you try it! 🙂
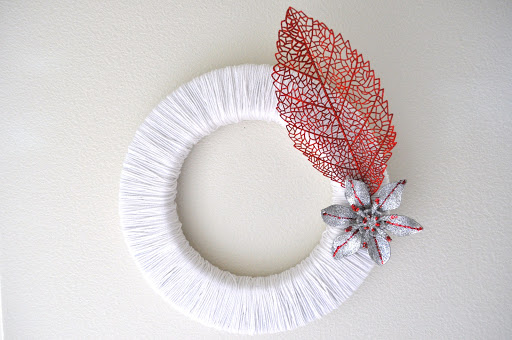


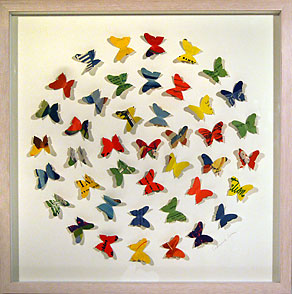
 this next can be made as colorful as you want to make it. Anyone want to let me borrow their butterfly punch?