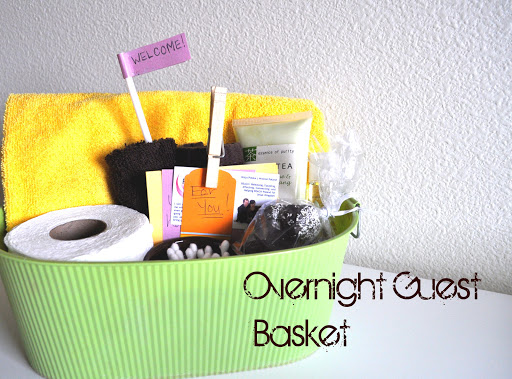
Overnight Guest Basket

Travis and I *LOVE* having guests stay the night. We both love hosting and spoiling whoever enters our home. I saw something like this on Pinterest and had to recreate it.

17013329993.jpg

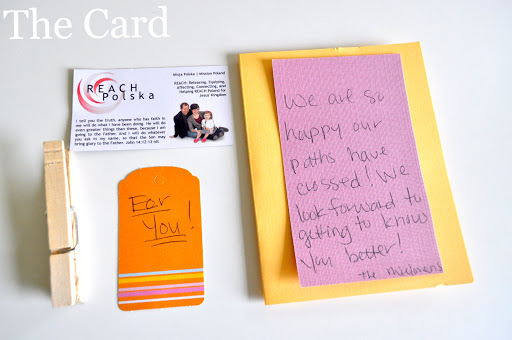
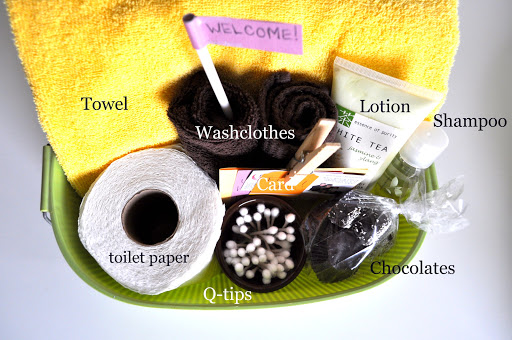
Here is our overnight guest basket! I didn’t buy anything but gathered whatever I had in our home already.
17013446574.jpg
I have fun ideas to add Northwest chocolates if it’s someone from out of the area. I also have dreams of adding a Portland/MAX map for ‘out of towners’ as well as a bottle of water, water flavors and snacks (homemade trail mix).

When I think about how I could spoil them I ask myself what I would want when I stay at others homes. And usually it’s something local. Whatever the city has to offer that’s unique to them. In Portland, it would be marionberry jam, smoked salmon or a flask of sand (free) from the beach they visited.

A gift where you can see the host put some thought into the gift. (something a little more than a postcard or key chain)

I  have an amazing Aunt who lives in Austin,TX  (hi Aunt Donna!) and when we arrive in town she has already looked into what is happening downtown/activities for however long we’re staying there. She takes us everywhere and seems so joyful to just spend time with us and show new comers around.

17013491279.jpg

IF possible, I try to do some digging before a guest comes and learn their favorite meals. And then IF possible I’ll surprise them with some depending on the length of their stay.

Ask a friend and you’ll hear them say I get giddy and all bubbly to hear we have someone staying with us.

Looking forward to the guests God brings our way!
 

DIY: Fabric Flower Necklace

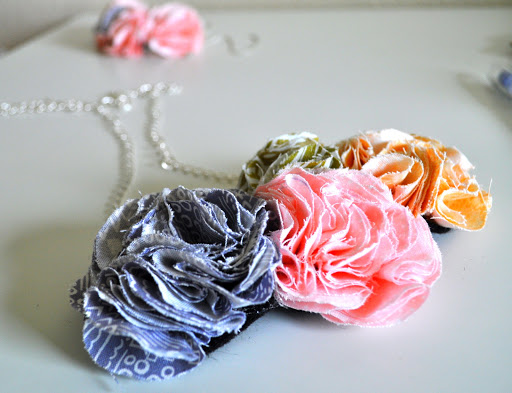
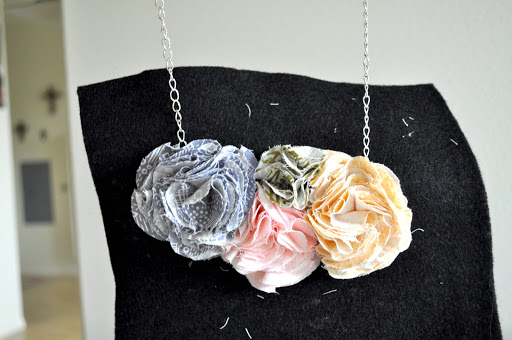
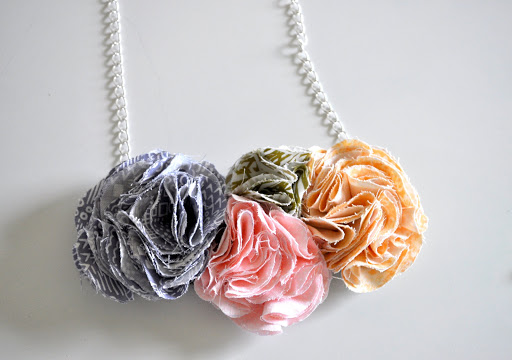
This DIY project is something that I’ve been wanting to do for a loooong time. It’s simple, beautiful and my favorite part is that you can customize it to your liking. Many more will be made.

16794027708.jpg

Lots of awesome pictures are coming…get a favorite drink in hand and be ready for some eye candy. 🙂

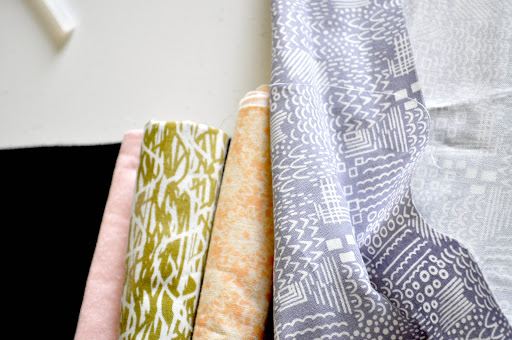
Fist you need to get some fabulous cheap fabric. For this just one reason I am crazy about Jo Ann’s.

16794195046.jpg

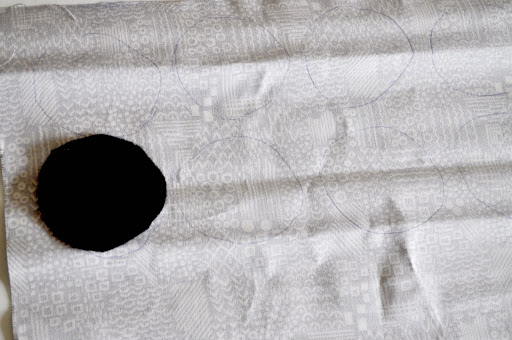
Next cut a felt circle and trace it on the back side of any fabric you want to make a flower of. It’s so the fabric and felt circles are the same size. Looks better that way.

16794230300.jpg

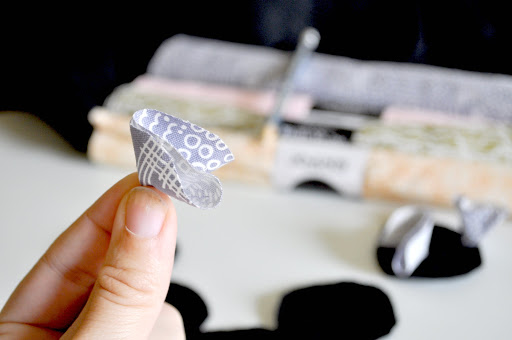
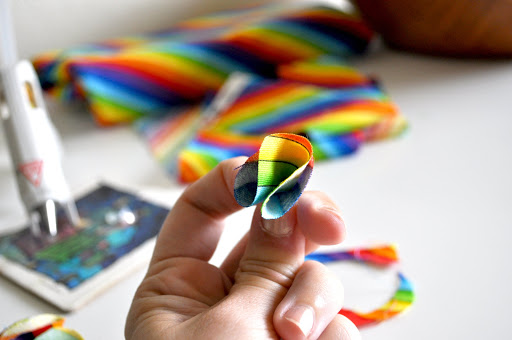
Now after cutting circles, take one and fold it twice. So it looks like this:

16794286551.jpg

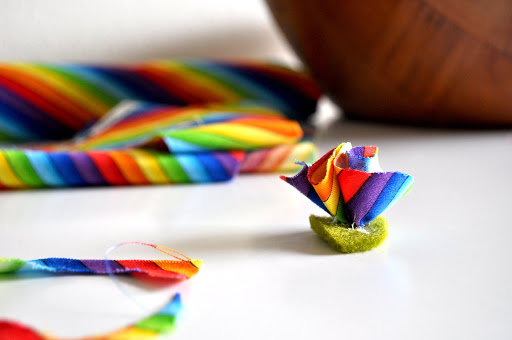
Then just start sticking them on the felt circle. One at a time till you get yourself a flower!

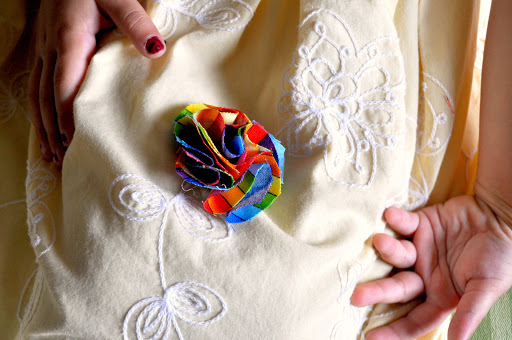
Forgot to take a picture of a finished flower. Whoops. I got too caught up in the creating. Really. You can kinda see it on the right side of the picture above.

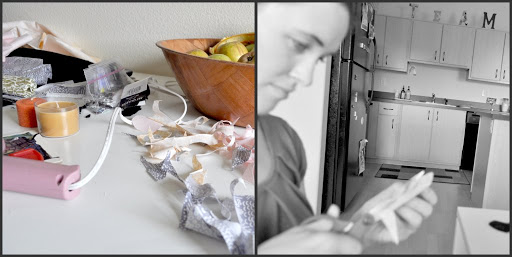
But Emma did take a couple pictures while I was making the necklace. My ‘craft table’ with tons of scraps, hot glue and smelly candles. Cutting the circles took the most time.

16794583996.jpg

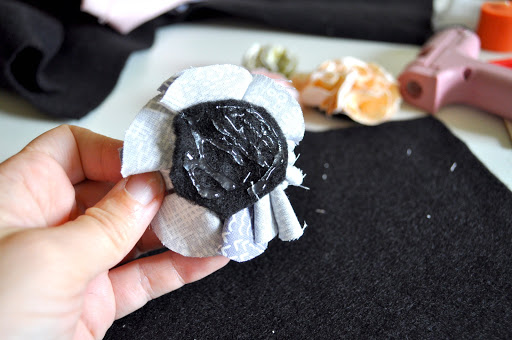
Next, once your flower is complete, you want to slather the backside with hot glue.

16794488114.jpg

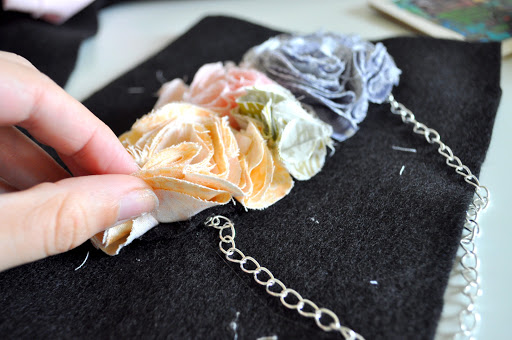
And before you put it down on more felt, you want to attach a long piece of chain. This way, the necklace chain is secure, in between two pieces of felt. Picture shows better than I could explain.

16794497652.jpg

Does that make more sense now? Hope so. So now you have your necklace and it’s almost done!

16794531053.jpg

Just cut away the felt from the flowers an that’s it!

16794568974.jpg

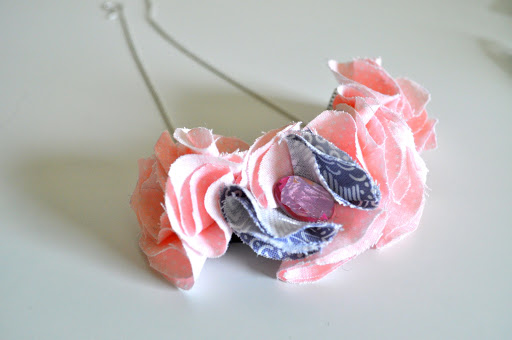
Emma really wanted one…and I can’t say no to Emma wanting to do crafts. So this was created:

16794537875.jpg

Let me know if you try it! 🙂

DIY: Rock Hot Pad

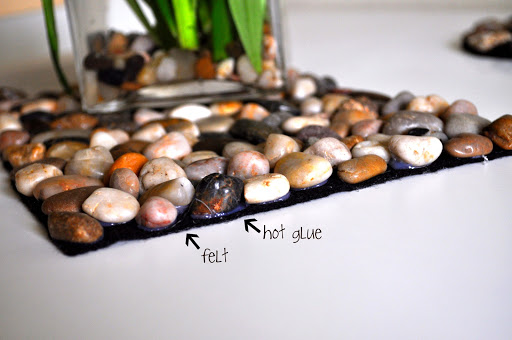
16857648176.jpg

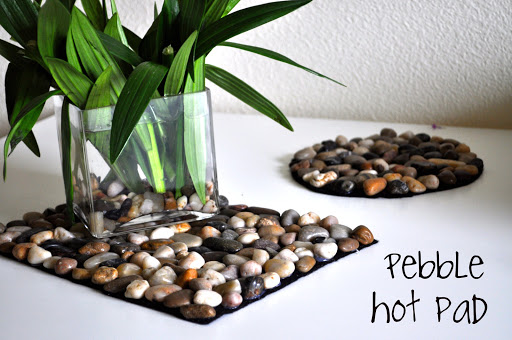
I saw these hot pads on pinterest and thought, ‘YES!’ I  actually got so excited I showed Travis and told him, ‘I’m doing this tomorrow!’

16857816844.jpg

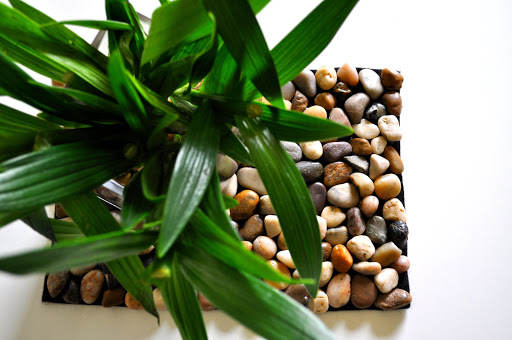
The felt and stones from dollar store. Pretty happy with how it turned out.

It was like playing tetris. Fun. 🙂 I made two, one for those big casserole dishes and the other a circle.

16857685310.jpg

Let me know if you do this 🙂

DIY: Art Frame for refrigerator

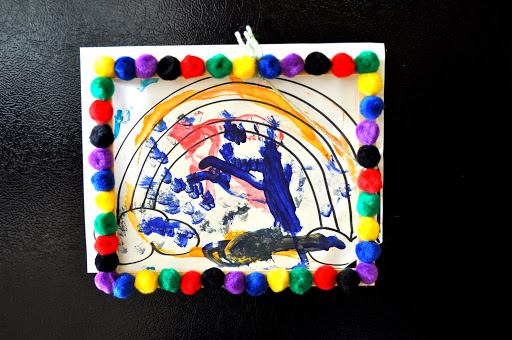
16858195792.jpg

Easy cute frame for the fridge to display your kids art. I’m sure you could make this more cute and boutique-y. But I wanted to keep it bright and kid-ish. I wanted Emma to be happy it framed it art. It is after all for her, not me. 🙂

DSC_0726.JPG

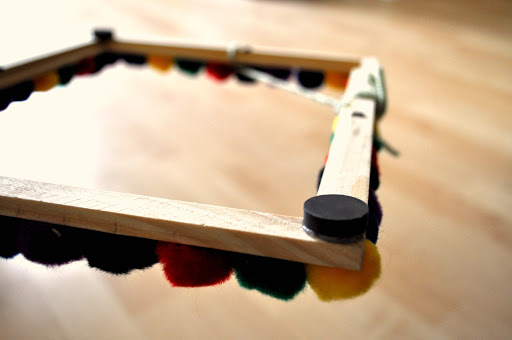
Pom poms, frame, magnets and hot glue.

16858252089.jpg

Emma loved it. 🙂

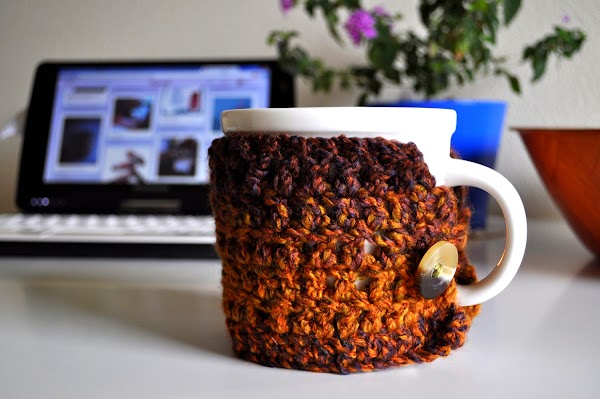
DIY: Cup Sweater

16808799259.jpg

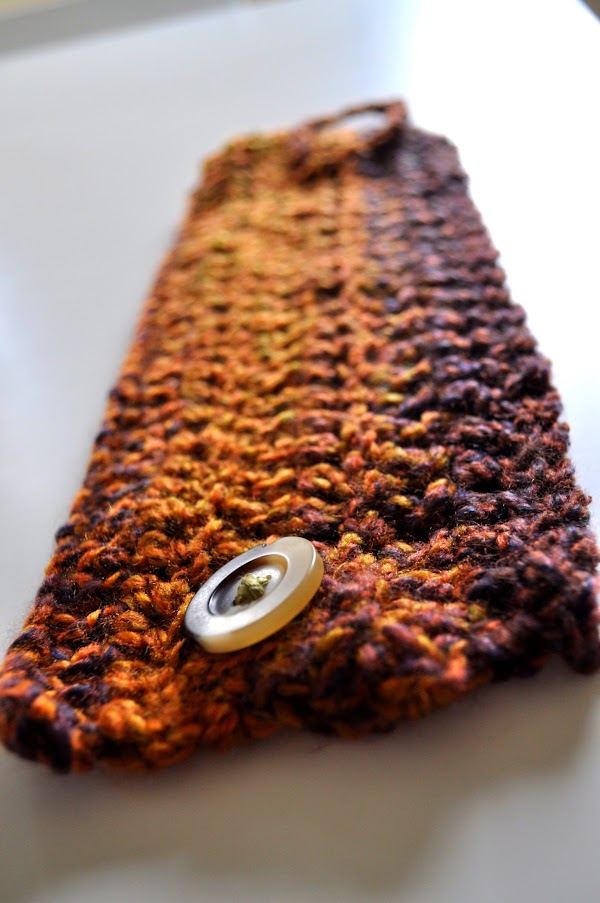
So this next one is a fun one. Just crochet a small rectangle. 

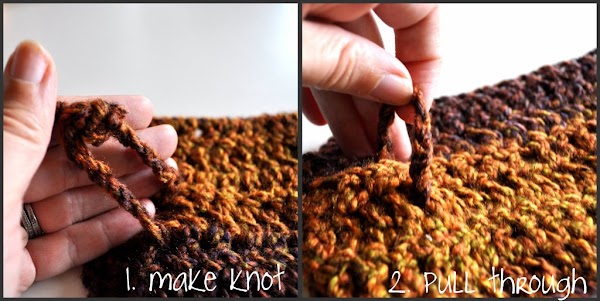
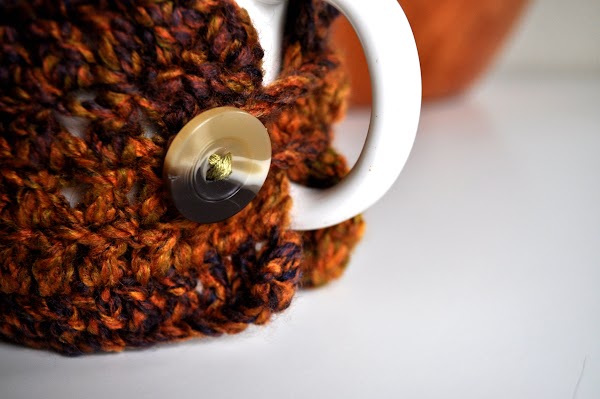
Add a button on one saide and the other braid some yarn, and tie it on the back side in a knot. Pictures:

16808724909.jpg

Finished product:

16808855081.jpg

That’s it!!!! I raided my coats in my closet for any extra big chunky buttons. You know, the extra ones that are never used. Score!

16808566607.jpg

Let me know if you do this! I would be happy to see how yours turned out! 🙂

16808799259.jpg

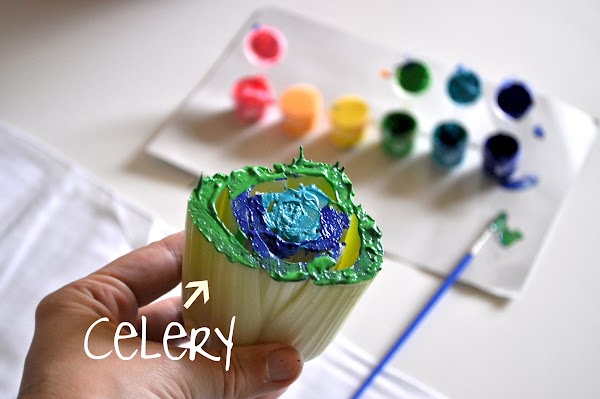
DIY: Celery Flower Stamps

I saw this on Pintrest and thought SO EASY!! But I also don’t want these awesome ideas I pinned to collect cyber dust and stay in the ‘I’ll do it someday’ file.

So here it is! You should do it! Think shirts, pillow cases, kitchen towels, tote bags, baby bibs, etc.

16770742326.jpg

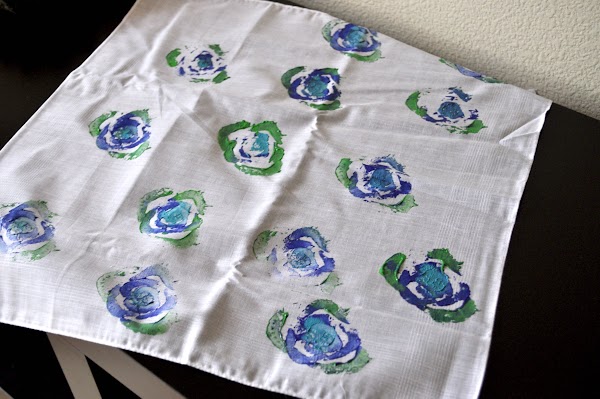
I wanted to do something to combated the pink in our house. Blue tones it is.

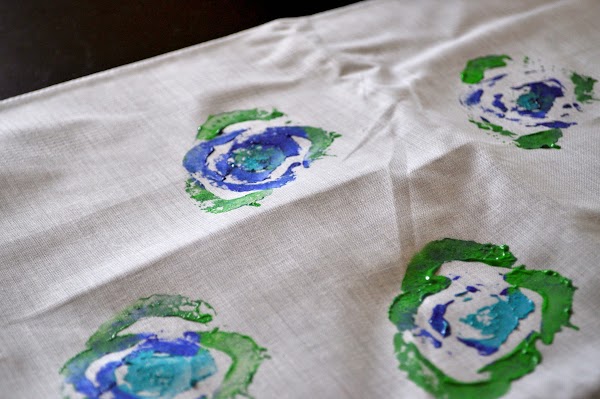
(* make sure to always have something under the fabric you’re stamping.* Yes, mine bleed through and I freaked out because I was afraid it would stain our white dining room table)

16770746171.jpg

Not too happy with the picture, but it’s what I got today.

YES you should try this!

YES you should start thinking about homemade Christmas presents!

YES more homes need celery stamped flowers. 🙂

16770754055.jpg

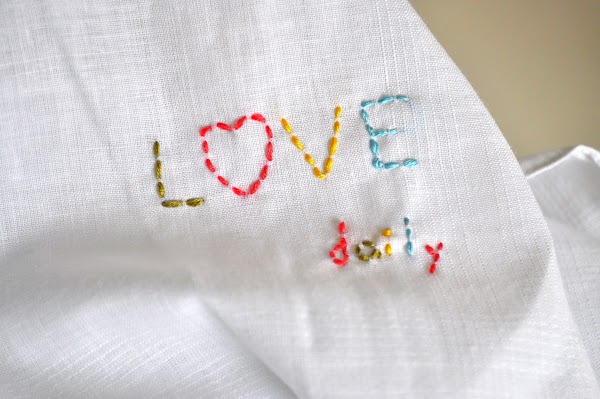
DIY: Love daily

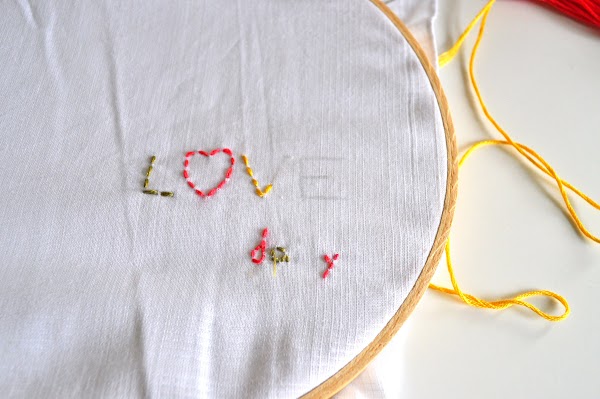
16765111173.jpg

I’ve had this bee buzzing around in my brain for a while. Christmas presents will include some needle work for sure. 🙂

This is my first attempt at this so the first (usually the ugliest) handkerchief is mine.

16765088852.jpg

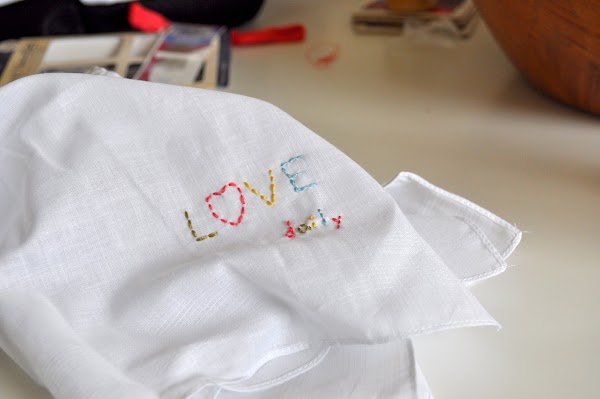
God has been talking a lot to me about LOVE. How deep and overcoming it is. So I wrote this as a good daily reminder.

16765159698.jpg

You better believe this is going everywhere with me. Church, small group, Genesis, counseling and everywhere else I might cry. 🙂

DIY: Fabric Pom Pom

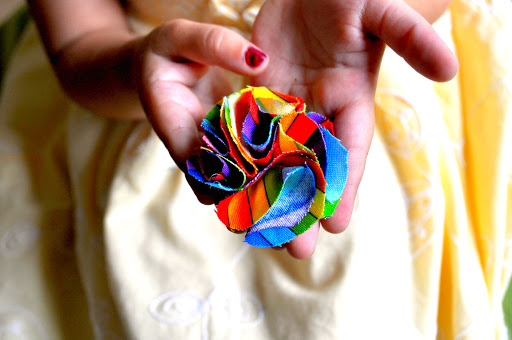
 16658910935.jpg

I am happy to say this is EASY. With a capital E. Some family members might be getting a necklace for Christmas. But not in the rainbow fabric, don’t worry. 🙂

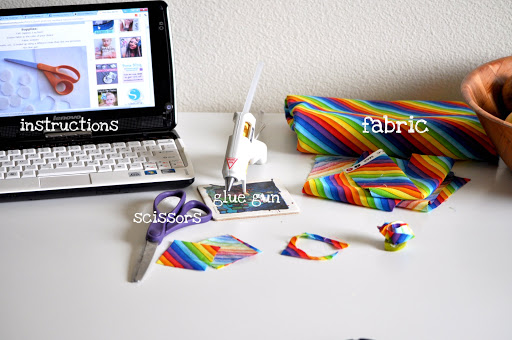
Here are the materials:

16653517554.jpg

I don’t pretend to be a wiz at creative things. I enjoy it and can get lost for days in projects but it all starts with me looking on the internet for directions. This was no different.

16653539646.jpg

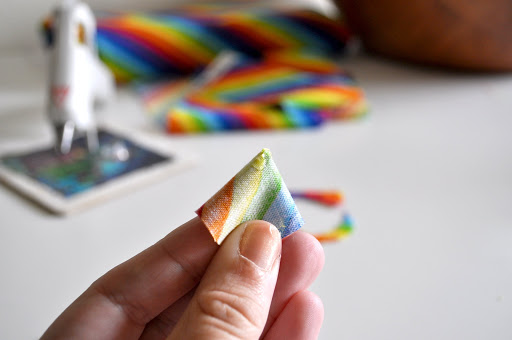
Just take a piece of fabric which is cut in a circle and fold it twice, like above picture.

Then put a tad hot glue on the end. Below picture.

16653651748.jpg

Lastly, glue it to a piece of felt that was cut out in a circle.

16653440264.jpg

A good thing to know, which I didn’t till too late, is to make the felt circle and the fabric circle the same size. If you mess up it’s no biggie. it will just look more uniform.

16653899005.jpg

And there you have it! Done! 

Enjoy and let me know if you do it! When I make necklaces I’ll make another tutorial. 🙂

16658910935.jpg


Have a fabric fabulous Tuesday!

DIY: Porcelain Painting

None

I taught myself how to paint porcelain. “Dot style’. (made that up, but sounds nice) Rally liking it and having fun. But I get so nervous I’m going to mess up (which is silly because I could just wipe it off) my hand shakes tons.

The above blue plate was made as I was looking at a picture. The red plate/tea cups and plates was made last night and I was just fooling around without looking online. All the work is free handed with a little ‘Alexis’ thrown into it.

None

I am keeping this red plate above and making it into a cake plater. It is my first and I know I can do much better and would feel weird giving someone a ‘first try’. I don’t know- just me I guess.

What do you think? I really like how the blue plate turned out and I would love to hear your opinion, add this, minus that…

None

I am going to practice a whole lot more, make tons of stuff (tart dishes, stands, tea cups, bowls, plates, etc) and sell them to everyone and their mother. We have a website that is dormant at the moment. This is a nice breadth of fresh air and creativity. All profit will go to our deployment fund.

I bought lots of colors and can’t wait to buy more. I have lots of ideas and stayed up too late thinking about it all. You know when your creative juices start flowing and it’s like…1am? I REALLY don’t like that. But I was a slave to them and wrote them down on my little note pad.

None

I’m not sure where I’m going to store them all…this is going to be a fun adventure.

None

You see that platter under the cups and plates? I have fun plans for that. Colorful plans…:)

None

**********************

Oh, and if anyone would like to purchase this blue plate, please contact me by commenting and letting me know. Thanks!

DIY: M

17815610933.jpg

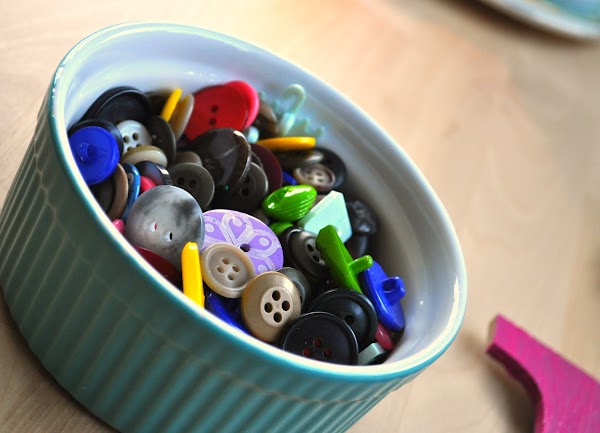
Like  you, I’ve seen this project all over the internet and like any other fad I have to try it out to see if it’s all it’s cracked up to be. This project was fun, fast and relaxing. So yes, try it and do it with prettier more sparkly buttons. I used only what I had in my house.

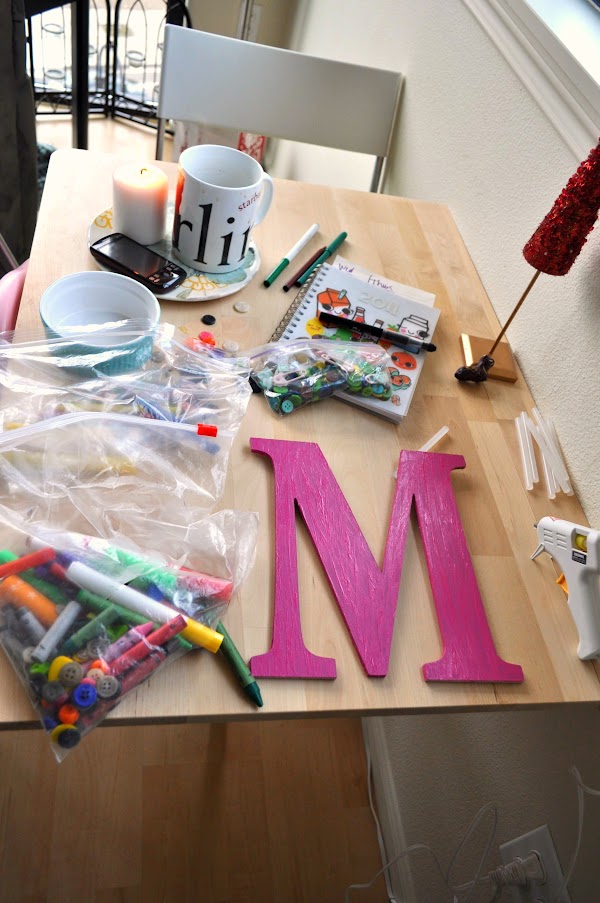
I first painted the letter pink. Mainly because I’m starting to accept that I like pink and that doesn’t make me a bimbo. So I’m incorporating it more in my wardrobe and house.

17815637395.jpg

Heat your wonderful hot glue gun and tell it you love it. Cause really, how far would we ‘creative’ people get without Mr. Glue-gun. So then basically just hot glue buttons wherever you want. In any order you want. You are in charge! 🙂

17815654425.jpg

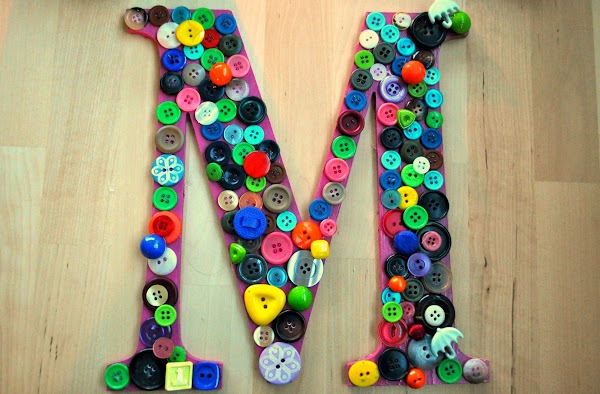
Don’t you love the colors?! Mrs. M. 🙂 I like the sound of that!

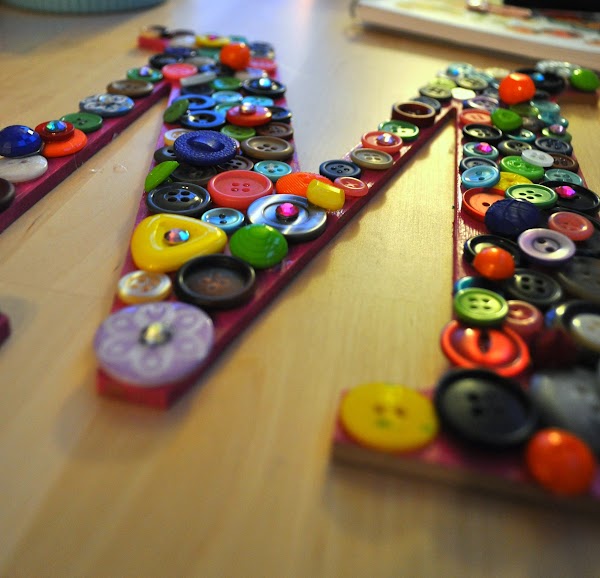
OK, I would do a whole lot more yellows and oranges. Too bad so sad, but it turned out pretty cute not buying anything. Now at this point, if I had all the molla at my disposal (watch out!) I would use glitter rhinestones, clip on earrings and glitter spray paint. But I did have the rhinestones!

17815703895.jpg

And that ended nap time. Emma was awake and thrilled to see we were playing with small colorful buttons. 🙂 But not happy I had to ruin it all by sticking the camera in her face and tell her to say cheese! This was her attempt. I think she could have given more effort. 😉

18262462595.jpg

* my thanks goes out to Mr. Hot glue gun. Love you man.